Post summary: Make your own SEO plugin with Toolset Types. No need to install any additional SEO plugins. Read our tutorial and make your own today!
I asked myself if I really need SEO plugin’s like Yoast SEO. Why? Because every big plugin really slow down my wordpress webpage. So I decided to use Toolset for my SEO. How? Let’s see.
Which SEO fields I need?
For small page I need just three fields:
Title – main SEO field
META description – does not really count on SEO but can increase Click through rate
Sharing image for social sites (facebook etc.)
And now it’s time to use the Toolset Types to make own SEO Yoast-like box.
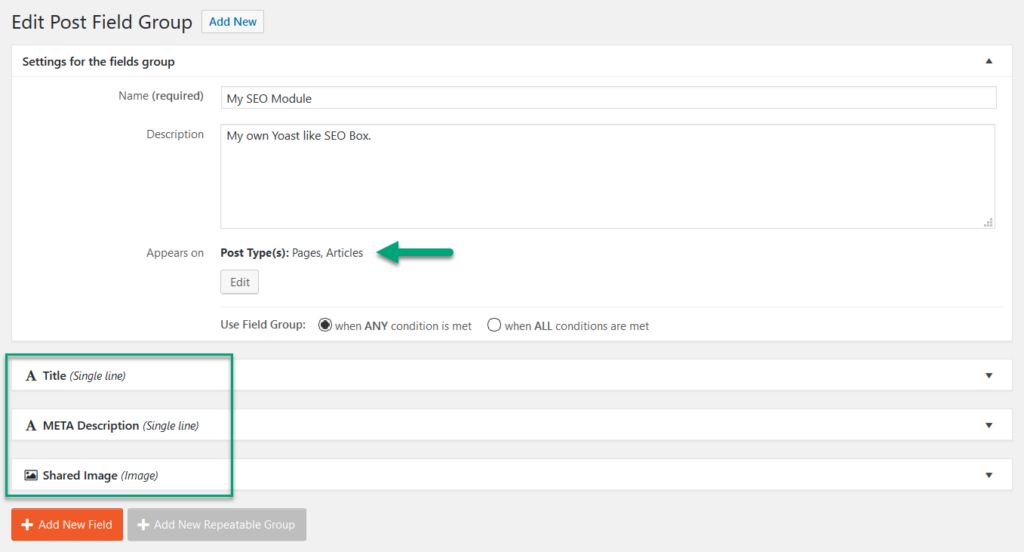
Create custom field group with SEO fields
Navigate to the Toolset > Custom fields > Add new > Post Fields and create:
Single line field for Title
Single line field for Description
Image field for Sharing image
You can also select where this box should appear at fields group settings (I am using it for post type Page and Article).
Filling the SEO fields
Look what happen now when I open my article. New box called My SEO Module appears. It looks like normal SEO plugin isn’t it?
That’s fine. Let’s fill this fields and render them in header.
Render SEO fields in header
Rendering the fileds with toolset API is maybe the hardest part of this tutorial. We need to render them in theme header.
Copy header.php from your theme to your child theme.
Open the header.php and prepare fields for rendering with some easy php:
<?=types_render_field( 'field-name') ?>
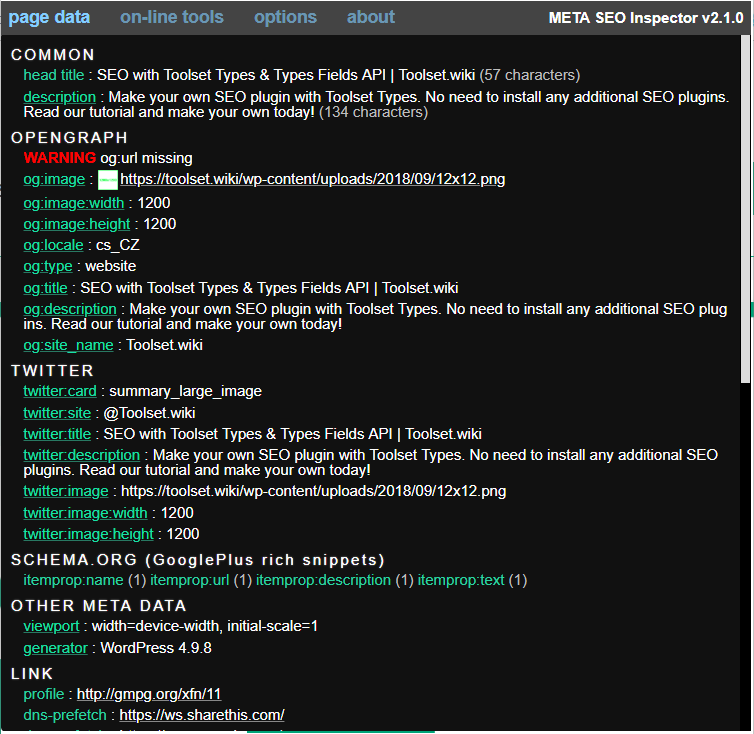
I also want to fill some microdata for social sites. For facebook (OpenGraph data) and for twitter. So I added some more meta properties. Here is the header code example. Put it after the opening:
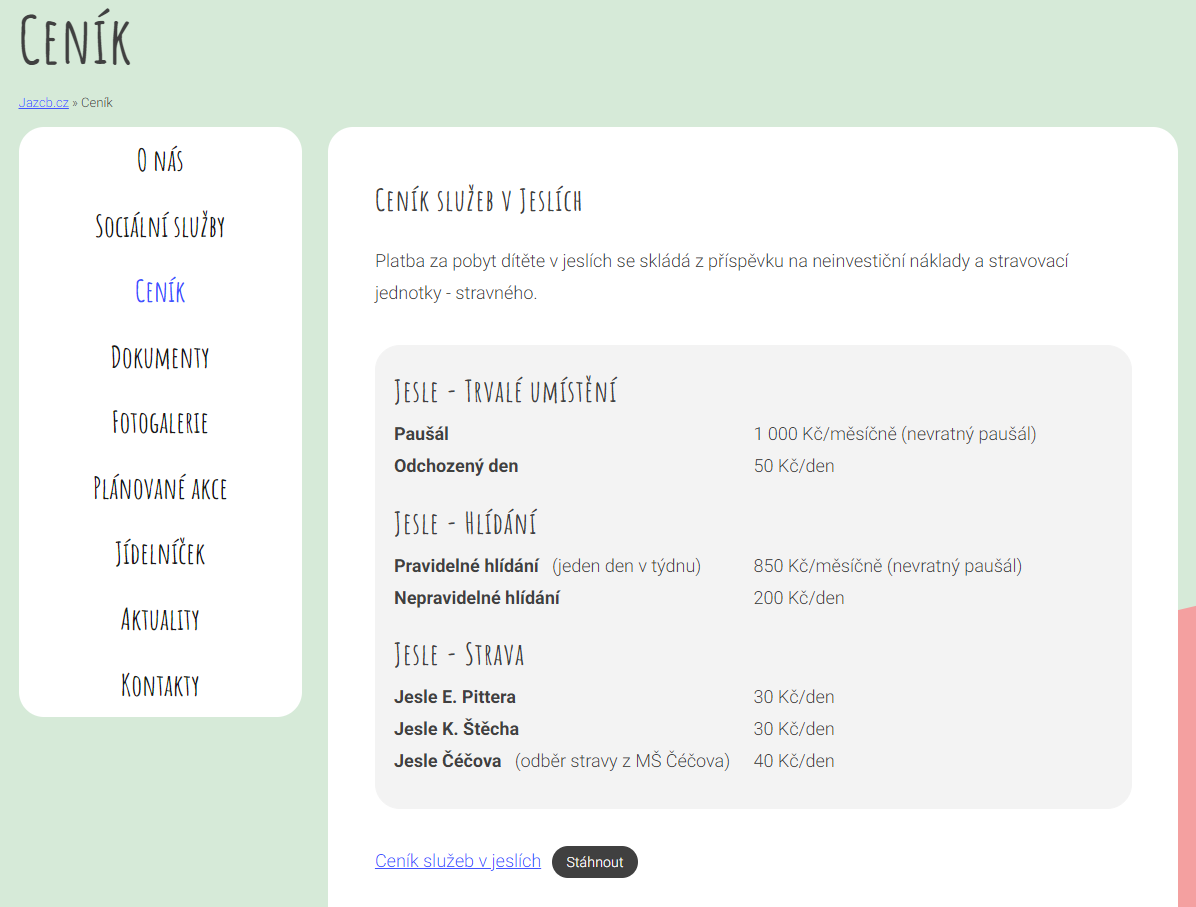
Save your header and try if it works. You can use browser plugin like META SEO Inspector. Final result should look like this:
And that’s it. Only one more thing I need is sitemap. And I recommend to generate sitemap automatically with lightweight plugin Google XML Sitemaps plugin. Sitemap is now automatically generated by WordPress itself.
This tutorial works only on posts and pages. If you want to use it on taxonomies and archives, you need secondary Term custom fields group and also you need to write a simple plugin wich decide if page is archive, tax or post. If you need it please let me know in the comments.
Fuel my passion for writing with a beer🍺
Your support not only makes me drunk but also greatly motivates me to continue creating content that helps. Cheers to more discoveries and shared success. 🍻